Showing posts with label Shopping. Show all posts

Risotto with Peas, Zucchini and Saffron

I finally started to take pictures with my new camera, and this is one of the first photos of food...although, my granddaughter already is way ahead of me, while I'm still reading the instruction manual, she not only took photos of the Christmas tree, and decorations, but also made a video, of the tour of their house...LOL.
Here's a fabulous shrimp dish, made by my daughter...cannot take credit for it, but I will post the basic risotto recipe, and the finishing of the shrimp, and veggies.

Basic Risotto

1 cup white arborio rice
1 tablespoon Olive oil
1 large onion, chopped
1/4 cup Parmesan cheese, grated
5 cups hot stock (or water)
1/2 cup white wine (optional)

 Heat olive oil in a heavy non-stick 2-quart pot. Saute onion in oil until translucent. Add rice and stir rice until grains are coated with oil Add wine and stir constantly on medium heat until wine is absorbed. Add 1 cup hot stock or water, stirring until liquid is absorbed. Continue cooking for about 20 minutes, adding the remaining liquid 1 cup at a time. This rice creates its own creamy sauce; add additional liquid if creamier texture is desired. Remove from heat, stir in cheeses and serve immediately. 
For the shrimp:
Just cook 1 lb.of shrimp-which is peeled, and deveined, tails removed, in small amount of broth, or water, and fold in at the very end, when risotto is done.
For the vegetables:
Sauteed, thin sliced zucchini, and frozen peas, added at the end of cooking the risotto, along with a few strands of saffron.
Very tasty, and yummy!
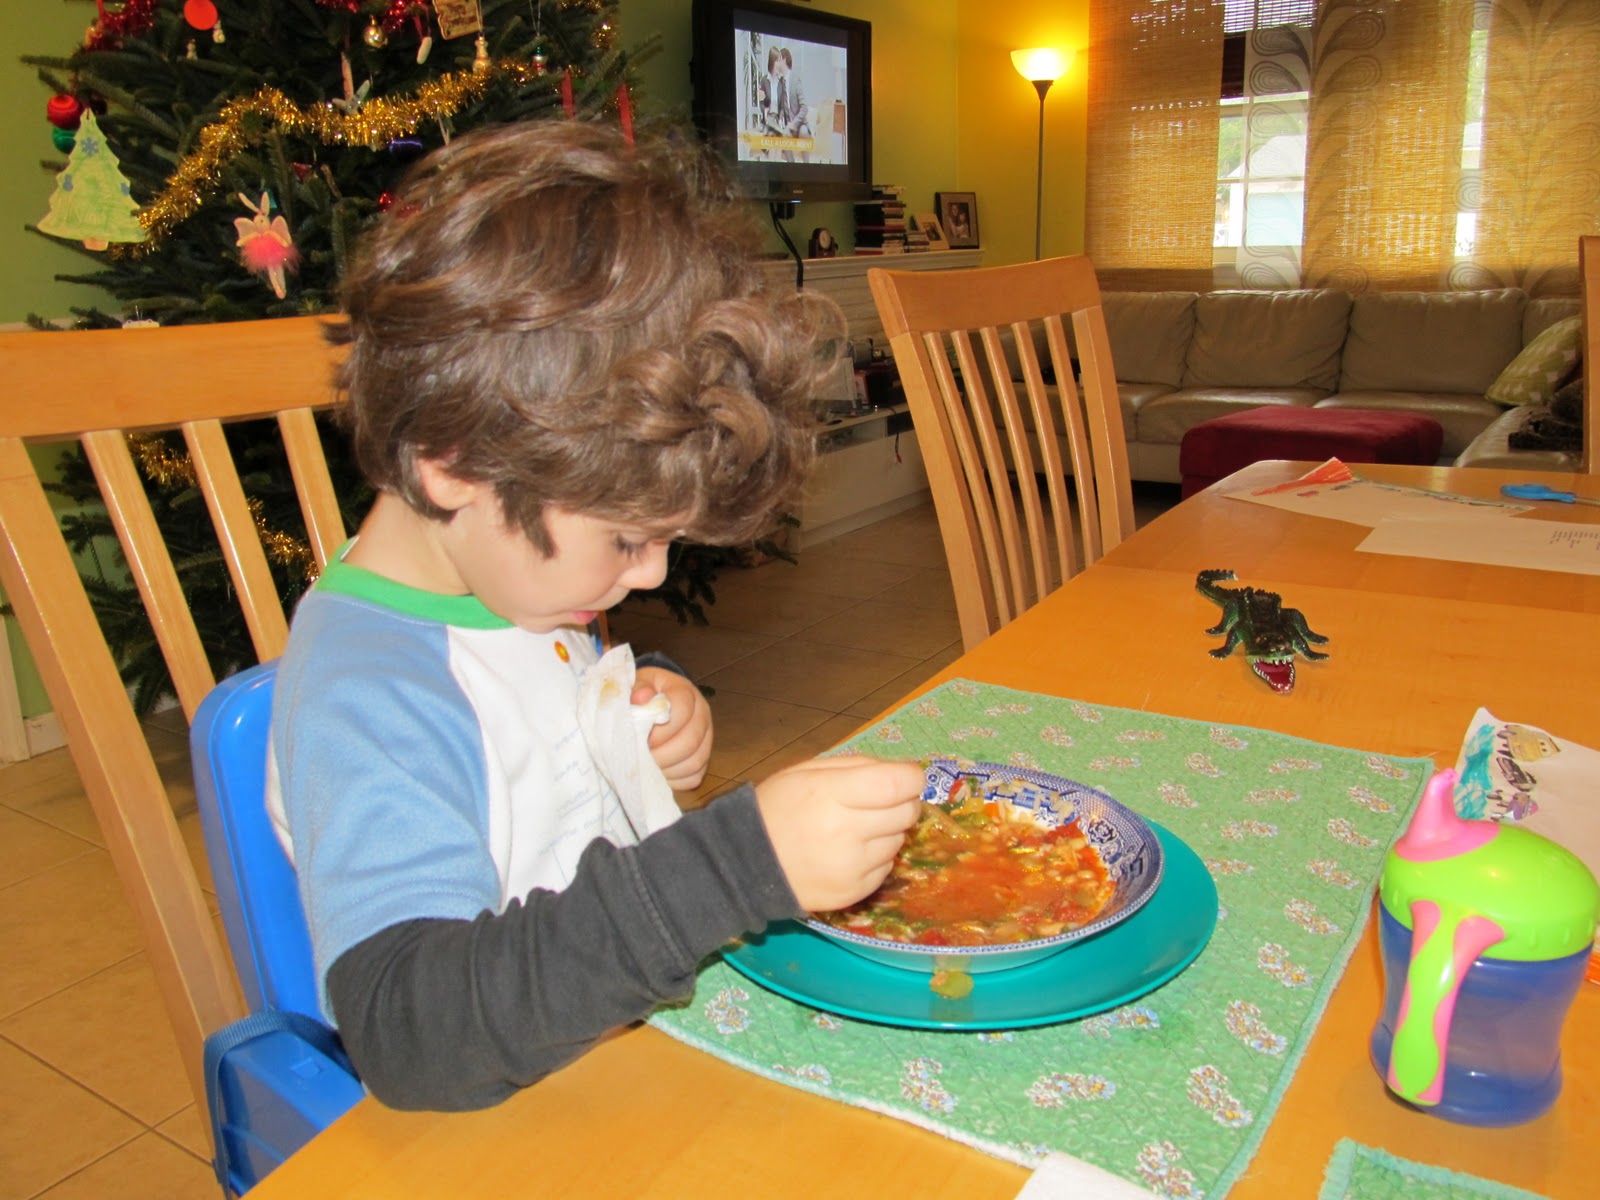
Today, I was watching my precious little grandson, and could not decide what to make for lunch...well, "lo and behold" mommy always has fresh chicken broth on hand, and marinara sauce, not to mention leftover rice, steamed spinach, and steamed broccoli, which was a side dish the night before. Such a beautiful solution, to Minestrone soup, on a cold, and damp S. Florida day. Always have staples, like canned beans of any kind. In this case, we had the perfect Great Northern beans, which was the best choice, for the soup.

Minestrone Soup
32 oz. of chicken broth, homemade, or canned, or in a 32 oz. carton
16 oz. of Marinara sauce, homemade, or from a jar
2- 15oz. can of Great Northern beans, or (any kind of your choice)
1 15 oz can of dice tomatoes
you can add, leftover broccoli, steamed chopped spinach, or any
other cooked vegetables, ie. carrots, celery, additional beans,
( I added leftover rice, you can add dittalini (tube) pasta, even leftover meatballs
or chopped leftover chicken is good.
All you have to do is add all the ingredients of your choice, together and simmer to
an almost boil, and serve. Really delish! Serves 6.

I kid you not...my grandson had two bowls of this yummy and comforting soup...and after that, had a nice sampling of the Tate's cookies. so crisp, and yummy!
All set for Christmas...all the stocking hanging, and waiting for Santa. Decorated by my 9 year old granddaughter, the mini "Martha Stewart"...and photos done by her, with my new camera...yeahh!...I finally was able to upload them. Now, I'm on my way to take fabulous new photos, and say goodbye to my old camera, of only less than 3 years...sigh...I still like the old 35mm. with the film. I still have my Canon, 1985 model, with all the extra lenses, but it's obsolete for today's use. I even have another one, which is a Nikon, same year. I have close to $1,000.invested in each of the 2 with several lenses, and fancy case, (now, just a memory)

Enhanced by Zemanta

Quick and Easy Waffles

This is how they looked this summer...slimmer now!
It's been a long weekend!
Waking up Saturday morning to the sound of the little voices of my two grandchildren, and the  Chihuahuas,Luigi and Stella... the smell of fresh home made waffles. How can anyone not want to be a part of that. Did I mention the glorious Caffe Latte too? I feel compelled to brag about the waffle iron that the wonderful waffles were made in, because while my family was vacationing in Italy this summer I was house and dog sitting, so every chance I got I stopped at Goodwill nearby to see what treasures I can find. I did find this waffle iron, still brand new with the warranty book in the box, at $5.99, retail price starting at $17.99 and up.
Also, found this cookbook that I've always been wanting to buy...this paperback was also like brand new, just tucked away with all the other books, that I happen to spot. Paperback books of any kind, any size cost...are you ready for this? $.79...seventy nine cents...holy, moly! The hardback, which is the same exact size, costs. $29.99...no kidding! The recipe for the waffles is in this book, and I'm so grateful that my daughter found it useful enough to constantly want to make homemade waffles, and homemade pancakes, also any kind of good and basic recipes that are found in the wonderful "bible" of a cookbook....and mom could not be happier than to find a gift that keeps on giving, for way under $10.00. Now, that's what I call THRIFTING!
Recipe for the waffles from How to Cook Everything
Quick and Easy Waffles
 
Canola or other neutral oil for brushing waffle iron
(we use cooking spray)
1/2 teaspoon salt
2 Tbsp. sugar
3 teaspoon baking powder
1 1/2 cups milk
2 eggs
4 Tbsp.  (1/2 stick) butter, melted and cooled
1 teaspoon vanilla extract Brush the waffle iron lightly with oil and plug in to heat it. Combine the dry ingredients. Mix together the milk and eggs. (If you have time, separate the eggs and beat the whites.)
Stir in the cooled melted butter, and vanilla. Stir the wet ingredients into the dry ingredients. If the mixture seems too thick, add a little more milk. Spread a ladleful or so of batter unto the waffle iron and bake until the waffle is done, usually 3 to 5 minutes, depending on your waffle iron. Serve immediately, or keep warm for a few minutes in a low temperature oven. Serves 4 to 6.
note, from Elisabeth:
You should use up the whole batch, even if you don't need it, because you can freeze waffles real nice, in a freezable baggie, and take it out to heat up in the microwave or in a toaster, or toaster oven. This is what I do, and never have to buy the frozen kind from the store. It tastes even better, when frozen, and toasted.
Enhanced by Zemanta

New York Style Cheesecake

I decided to re post my New York Style Cheesecake from this summer, just about when I started my blog. The actual reason I'm posting it is, because I lent my digital camera to my daughter, so she could upload her photos that she took with my camera. Yesterday, I made my good old fashioned meat loaf, and a yummy apple SALSA...

 
Recipe...adapted from the JOY OF BAKING
New York Cheesecake:
Grease, or spray with Pam, a 9 inch (23 cm) springform pan.  Place the springform pan on a larger baking pan to catch any leakage while the cheesecake is baking. Preheat oven to 350 degrees F (177 degrees C) with rack in center of oven.
For Crust:
In a medium sized bowl combine the graham cracker crumbs, sugar, and melted butter.  Press the crumbs evenly over the bottom and about 1 inch (2.5 cm) up the sides of the springform pan.  Cover and refrigerate while you make the filling.
For Filling
In bowl of your electric mixer place the cream cheese, sugar, and flour.  Beat on medium speed until smooth (about 2 minutes), scraping down the bowl as needed.  Add the eggs, one at a time, beating well (about 30 seconds) after each addition.  Scrape down the sides of the bowl. Add the whipping cream, lemon zest, vanilla extract and beat until incorporated.  Remove the crust from the refrigerator and pour in the filling.  Place the cheesecake pan on a larger baking pan and place in the oven.
Bake for 15 minutes and then lower the oven temperature to 250 degrees F (120 degrees C) and continue to bake for about another 1 1/2 hours or until firm and only the center of the cheesecake looks a little wet and wobbly.  Remove from oven and place on a wire rack.
Meanwhile, in a small bowl combine the sour cream, sugar, and vanilla extract.  Spread the topping over the warm cheesecake and return to oven to bake for 15 more minutes.  Remove from oven and carefully run a knife or spatula around the inside edge of pan
to loosen the cheesecake (helps prevent the surface from cracking as it cools).
Let cool before covering with plastic wrap and refrigerating.  This cheesecake tastes best after being refrigerated for at least a day.
Serve with fresh fruit or fruit sauces.
Makes one - 9 inch (23 cm) cheesecake.
To freeze
Place the cooled cheesecake on a baking pan and freeze, uncovered, until firm.  Remove the cheesecake from the freezer, wrap it in heavy duty aluminum foil and place in a freezer bag.  Seal and return to freezer.  Can be frozen for several months.  Thaw uncovered cheesecake in the refrigerator overnight.
Adapted from Cheesecake Extraordinaire by Mary Crownover.

Crust:

2 cups (200 grams) of graham wafer crumbs or finely crushed vanilla wafers or gingersnaps (process whole cookies in a food processor until they are crumbs)
1/4 cup (50 grams) granulated white sugar
1/2 cup (114 grams) unsalted butter, melted
Filling:
32 ounces (1 kg) (4 - 8 ounces packages) cream cheese, room temperature (use full fat, not reduced or fat free cream cheese)
1 cup (200 grams) granulated white sugar
3 tablespoons (35 grams) all purpose flour
5 large eggs, room temperature
1/3 cup (80 ml) heavy whipping cream
1 tablespoon lemon zest
1 teaspoon pure vanilla extract
Topping:
1 cup (240 ml) sour cream (not low fat or fat free)
2 tablespoons (30 grams) granulated white sugar
1/2 teaspoon pure vanilla extract
Tips:  Sometimes the surface of the cheesecake cracks.  To help prevent this from happening do not over beat the batter, especially when creaming the cheese and sugar. 
Another reason for cracking is overbaking the cheesecake.  Your cheesecake is done when it is firm but the middle may still look a little wet. 
Also, make sure the springform pan is well greased as cracking can occur if the cheesecake sticks to the sides as it cools. 
Enhanced by Zemanta

Curried Potatoes and Eggs Scramble

Enhanced by Zemanta
I've been so intrigued with all the beautiful and This morning was such a beautiful morning, that I decided to make a nice breakfast treat, focusing on using what I had in my frig, but intent upon using curry powder. I did not want to add curry powder or other spices in the scrambled eggs, and did not want to make them on the side, so I came up with this cute little idea to make a little "nest" in the middle of the curried potatoes, when they were completely done. Eggs only take a minute or to to scramble up, and being careful not to get it mixed up with the potatoes, just concentrating on leaving it in the inside. I must say it was quite a success...better than breakfast out, and I could go on my Saturday grocery shopping.
There are so many different dishes out there on my foodie friends' blogs, and especially with all the wonderful spices to kick up the flavors of foods and make them colorful and healthy, at the same time. The funny thing is, that I have most of those spices, sauces, and condiment on hand. I am, what you might call a "spice freak", and "freezer happy"...99% of my dry spices are kept in the freezer...not that I would want to keep them in there forever, the longest I keep them is 1 year, and they still smell fresh. 
 Curried Potatoes, and Eggs Scramble

1 large russet Yucon gold potato
2 large eggs, lightly scrambled
1 small onion diced
10 grape, or cherry tomatoes, halved
2 Tbsp vegetable oil
1 teaspoon red curry powder
1/2 teaspoon Hungarian hot paprika
1/2 teaspoon coriander
!/2 teaspoon cumin, salt and pepper to taste.

In a large non stick skillet, saute onions, until translucent. In the meantime, cook the potato in the microwave until it's almost soft, slice them in half, and peel them, if you prefer. Dice them in small pieces, and saute them with the onions, on med, high. Sprinkle all the spices on them, and add the cherry, or grape tomatoes.(these small tomatoes keep their shape, they are better, than the diced tomato)...Just keep stirring the potato mixture till it gets nice and crunchy, and a golden color. Clear the vegetable to the side, and leave a portion of a circle to drop the eggs in. Lightly stir, but do not mix up too much, lower the temperature, and let it cook for a minute or two, till it sets. Sprinkle some lime on it to give it a nice flavor. Serves 2.
I love Halloween decorations, it's so much fun... our local supermarket always has decorations for every holiday. Just makes it that much more enjoyable to shop. Could not resist taking a picture, and not getting escorted out of the store. Last year I took some beautiful photos at our local Green market, and was asked to delete the photos...what a "bummer" and embarrassment that was. That's when I lost my grocery cart too. While I was sneaking photos, someone took off with my cart, and realized halfway across the huge football" field size of the store, and abandoned my cart. I finally had to ask the manager to announce on the loud speaker about the lost cart with certain groceries in it...more embarrassment. My daughter refused to walk out of the store with me...kept telling me. "I don't know you"...so no more paparazzi...have to be less noticeable when taking photos out in public.

Vegetable Stir Fry, with Shrimp

Yesterday was such a dreary day, so my daughter and I went thrift shopping for books, of course they would have to be cookbooks, or some kind of great novels for women. I am open to all kinds of other books as well, and buy them on Amazon, but when I could find some real good books in the thrift stores which are the best, in our area, I kid you not. I will get back on that subject, later.
 The main thing I should be talking about is another quick shrimp dish. I only had about maybe a dozen shrimp leftover in my freezer, and knowing I will devour that amount by myself, I better make it light. I bought this wonderful bag of fresh mixed veggies at my local supermarket, in the Asian section, and I wanted to make spring rolls, the same day that my friend Sabby made hers, but did not have the patience to roll the little suckers, plus the fact that I would have to fry them, so this was my next best option...vegetables stir fry, with shrimp. Mind you, even the little bag of the sauce came with it, but of course, I spiced the shrimps up even more for extra flavor.

Vegetable Stir Fry with Shrimp
1/2 lb large shrimp cleaned and deveined, with tail on
1/2  bag of 16 oz. LEASA mixed stir fry vegetables
1 bunch scallion, outer leaves discarded, and sliced 1 inch.diagonal 
1 clove garlic sliced thin
1/2 teaspoon of a good quality ginger
1/2 teaspoon hot Hungarian paprika
1/2 teaspoon cumin
juice of 1 lime
3 Tbsp. vegetable oil


Place shrimp in a medium bowl, and sprinkle all over with the juice of 1/2 of the lime, and  the spices. Heat a wok, or a large heavy skillet with  1 Tablespoon of the oil, on high. Stir fry the the shrimp with the sliced garlic for about 2 minutes, till almost pink. Remove from the wok, or skillet, and set aside. Wipe wok, or skillet clean with paper towel. Add the 2 Tablespoon of the remaining oil set it high again, and stir fry the scallion, and the vegetables for a few minutes. add the packet of the sauce from the bag, which is (teriyaki sauce. If you are using different vegetables, you can add your own splash of teriyaki, or soy sauce on it.) Add the remaining juice of the other half of the lime, and add the shrimp back into the wok, or skillet. Stir for another minute or 2 until it turns completely pink, and heated through. Vegetables should be nice and crispy. Serves 2.
Just look at all these books. Daughter browsing through for herself and finding great cookbooks too. Price range from 95 cents for paperback, to $1.95 to $2.95 for hardcover books...and these books are most of the quite recent.The entire bottom shelf is loaded with childrens' books. I think we just about picked up all the best ones.


Enhanced by Zemanta

Mediterranean Eggplant with Peppers, and Onions

So much for making my Eggplant balls. My daughter bought a ton of baby Japanese eggplants from our local Latina Produce market for about 10 for $1.00. Wow, how can you not want to get some? The trick is, finding a way of making these babies so they can still "shine" and show off their cute and tiny appearance. Unfortunately, after being roasted in a 375 degree oven, they come out looking like an over baked...or should I say "over tanned" wrinkled old lady. But do not "fret."...that's the best part. You can now, savor the flavor, of the tender,  little eggplants.
Treat them gently, and not peel them to discard their skins, or mash them up into a "Baba Ganoush" which I was about to do. Just let them be, and let their personalities flourish!

Mediterranean Eggplants with Peppers, and Onions
10 small Japanese eggplants
1 large onion
2 cloves of garlic chopped
1 large tomato
1 green pepper
1 red, and/or yellow pepper
1/2 cup white wine
1 sprig fresh rosemary, peeled
2 Tbsp olive oil (not extra virgin)
1/2 teaspoon dry oregano (fresh better, if you have it)
salt and pepper to taste

Preheat oven to 375 degrees. Prick the eggplants a few places with a fork, and lay them on a baking sheet with aluminum foil lined, drizzle them with a Tablespoon of olive oil a few drops of water, and bake them for about 45 minutes. They should feel soft to the touch, brown and somewhat wrinkly. If you have room on the same sheet, (I prefer a separate baking sheet) for the vegetables, and bake them at the same time as the eggplant.
To prepare the vegetables:
Cut peppers in half and clean out the seeds, cut onion in half and cut slices lengthwise also.Cut tomatoes in large cubes. In a bowl, mix them all together with the chopped garlic, the rosemary, oregano, salt and pepper, and place them on the baking sheet, adding the wine, and roast them at the same time, as the eggplant. When both are done, wait for the eggplant to cool a little so you can slice them in thirds and in an oven proof dish, carefully mix the two together. By now, they have gotten a little cool; you can serve them this way, or put the dish back into to oven for about 15 minutes, to thoroughly heat through. Serves 4.


Enhanced by Zemanta

Chocolate Chip Banana Bundt Cake (The Boondt)

Inspired by the Big Fat Greek Wedding, I pulled out my old bundt cake pan which I probably have not used in at least over 20 years. Still looks great, nice design, and sturdy. Cannot find another today exactly like that. Fire engine red, kind of wearing out, but the inside is solid non-stick, and it's really heavy duty. Actually someone gave me any idea to bake a whole chicken in the bundt, standing it upright. Not a bad idea, but somehow, I'd feel weird baking a cake in it afterwards. Certain wares, are made for certain things, and not to be used for anything else. I would not be able to get the propped up chicken out of my mind, next time I would bake a cake...also knowing that certain family members are vegetarian, and I could not lie to them that prior to the cake a chicken was basking in it, in the oven.
Getting back to the "Boondt." I loved the movie, and loved that one particular scene, where the future mother-in-law brings a bundt cake to the engagement party of the Greek family. Here's an excerpt from the scene.
Toula’s father introduces each and every family member to Millers and when all the introductions are through, Mrs. Miller holds out a bundt cake. Completely confused, Toula’s mother asks, “What’s this?”
“It’s a bundt cake.” Mrs. Miller says.
Completely dumbfounded, Toula’s mother repeats, “Boondt?”
Yes, Bundt.”
“Boondt?”
“BUNDT!!!”
Oh…It’s a cake!” She finally confirms. “This cake has a hole in it…”
 
So, without further adieu...let me introduce you to my BOONDT...Bundt Cake!


...

Did I forget to mention, that this wonderful Chocolate Chip Banana Bundt Cake, is topped with a yummy Caramel glaze? It is so easy to make, just like the cake too. Like I mentioned in previous banana bread recipes, I always have extra bananas left over, and when it gets down to the "magic 3" amount, and it has little brown spots on them, it's time to make something with it.


Hi Friends!
Yesterday, I was gone all day, and just now, I noticed I wiped out the entire photos, and recipes...so now I have to start back again to copy from my scribbled note the recipe, all over again.

Also, thanking everybody for the nice comments, regarding my BOONDT...bundt cake, with the caramel icing. The cake is all gone now, so on to my next adventure. So sorry, for any inconvenience, here's the recipe once more.

Chocolate Chip Banana Bundt Cake

3 cups flour
2 teaspoons baking powder
1 teaspoon baking soda
dash of salt
3 ripe bananas mashed
1 cup butter, softened
1/2 cup heavy cream
1 cup sugar
4 eggs
1 teaspoon vanilla extract
12 oz pkg. Nestle semisweet chocolate chips
Preheat oven to 350 degrees. Grease, and flour a 12 cup bundt pan. (you can use the cooking spray for baking)
In a large bowl, combine the flour, baking powder, baking soda, and dash of salt. In a medium bowl, mix sugar, butter, and the eggs, with an electric mixer, till nice and creamy. In a small bowl, mash the bananas. Add the ingredients from the medium bowl, which has the egg mixture, to the flower mixture, and mix at a low speed to combine. Now, mix in the bananas, the heavy cream, and the vanilla, and mix until combined. Stir in the chocolate chips, by hand, and mix lightly. Pour into the bundt pan, and bake for 30 minutes. Lower temperature to 325 degrees, and bake for an additional 30 minutes, Top should be a nice golden brown. Cool on a wire rack for at least 10 minutes before flipping cake over, on a plate. Cool for another 10 minutes, before drizzling on the glaze. Serve 6 regular sizes, or 8 larger slices.

Caramel Glaze


1 cup light brown sugar
1/2 cup (1 stick) unsalted butter
1/3 cup heavy cream
1 teaspoon vanilla extract
In a medium saucepan, melt sugar with the butter, on medium high heat, until it comes to a bubble. Add the cream, and vanilla, and lower the heat. Keep stirring until it thickens, and comes to a bubble. It should get a nice amber color, thick and gooey! Immediately take it off the heat, and with a soup spoon, start drizzling the cake evenly, all around. It will set in a few minutes, and will have a beautiful shine to it from the butter, and the cream. The flavor of the caramel, banana, and chocolate chips, will be fantastic.


Italian Sausage and Peppers

I was not going to post this...seems like I'm contradicting myself about eating healthy. Actually this is not so bad, considering I made it as light as possible. No grease, no extra fat...this would certainly can be categorized in the Atkins diet, maybe even Weight Watchers?...been there, done all that...and so, the saga continues.

Before I post the recipe for my Italian sausage and peppers, I will proudly show off my Suzanne Somers stainless steel skillet, 10 in. in diameter, has a nice non-skid handle, and the best part was, that this skillet has never been used by any one. I paid $2.99 for it, at Goodwill, and I've had it for over 1 year. In order to cook or fry on high heat, you must either have a cast iron skillet, or a calphalon, or a heavy duty stainless steel, as it is in this case. You will only destroy you nice non-stick pan. I absolutely love this frying skillet, it's easy to clean, even if you get burns on there. When you soak it in hot soapy water, the stain just rolls off. I am all green practically, with cleaning supplies. Just simply scour it with baking soda...takes the place of the strong chemical scouring powder, and you can also clean your sink with the baking soda, and will freshen up your garbage disposal. So now, on to my recipe...actually not really a recipe, just the instruction of how I came up with this great idea for the sausage and peppers. Not drowning it in oil, not letting it get lost in red sauce, but everything fresh from my refrigarator, that needs to be used up, anyway.

Italian Sausage and Peppers

2 links of mild Italian sausage
1 link of hot Italian sausage
(about 1 lb.)
1 green bell pepper
2 Hungarian wax peppers (or banana peppers
or Cubanelle, you can variate the peppers of your choice)
1 large onion
1 or 2 cloves garlic, sliced
2 Tablespoons vegetable oil
2 medium tomatoes (fresh)
1/2 cup vegetable broth or plain water is good
salt and peppers, (optional)
(sausage and peppers, are hot and salty enough)
1 teaspoon Hungarian paprika
Cut sausages with a sharp blade knife, to 3 inch pieces. ( slices will just fall apart, so this is suggested.) Cut peppers lenghtwise into about 1 inch strips, (not too thin) Cut onion in half, and cut fairly thick slices, lengthwise, also. Tomatoes cut in half, and also sliced thick into lentghwies slices. (Everything is cut lenghtwise, so they look nice and uniformed.)  First, start with the sausage to brown them in the vegetable oil, on med.high heat, for about 10 minutes, so they get nice and brown. Lower the heat, and just cook them low, for an additional 15 minutes. Add all the peppers, onion, garlic, and tomatoes, and saute them, leaving the sausages in the skillet, but at this time, add half of the broth or water. It will start to caramelize it, and keep cooking them for an additional 15-20 minutes, adding the rest of the broth to keep getting nice and juicy, this way it will not burn, or get dry. You should end up with perfectly cooked sausages, and just the right texture of the peppers, and onions. The tomatoes will stay nice and soft, and not falling apart. Serves 2.
note: 
Leftovers are great for the next morning with scrambled eggs, or reheated and served in a hoagie roll with melted mozzarella. (that is if you're cooking this for 1, but if for 2, you will not have any leftovers.) If you like pork, this is an ultimate comfort food!
Another excerpt, from WOMEN FOOD AND GOD

The shape of your body obeys the shape of your beliefs about love, value and possibility. To change your body, you must first understand that which is shaping it. Not deprive it. Not shame it. Not do anything but accept--yes, Virginia--understand it. Because if you force and deprive and shame yourself into being thin, you end up a deprived, shamed fearful person who will also be thin for ten minutes. When you abuse yourself (by taunting or threatening yourself) you become a bruised human being no matter how much you weigh.
Enhanced by Zemanta

Broiled Grouper with Mango, Papaya Salad

Broiled sea food is one of the best ways to make it, next to grilling. I just use simple mix dry spices, fresh grated lemon zest, fresh juice of 1 lemon, and also use the same on the unpeeled large shrimp. drizzle extra virgin olive oil on it, line the broiler pan with the dull side of the aluminum foil, poke a few holes with a fork right through the aluminum foil just maybe about 3 places, an broil on the very top for about 10 minutes for the grouper, and just a few minutes for the shrimp, as soon as they turn pink, it's done.
I saved the juices from the fish, and added a little white wine to it, and added juice of 1 lemon on top.No need for extra lemon on the side.
The mango, papaya, romaine, and radicchio salad is another fresh and simple, yet bursting with color and flavor. A perfect combination with fresh Florida seafood. I also added sliced fresh jalapeno peppers, scallions, and drizzle extra virgin olive oil, and a good squeeze of fresh lime juice. Couldn't get any better.
Enhanced by Zemanta

Cleveland Winter 2017

Hello my friends, I hope you all had a great holiday. I just got back from Ohio and I thought it would be nice to put together a post to s...