Fresh Peach and Apple Crisp

Buying the most beautiful and perfect peaches deserves a photo 'prop'...don't you agree?
The reason that I'm featuring these gorgeous peaches is...we are in the midst of being able to get Georgia peaches here, in S. Florida and they are quite affordable at this time of the year, and also...organic as well.

Fruit crisps, are the easiest things are to make when you just want a quick dessert to serve with a scoop of ice cream, or just by itself...even, cold!
It looks like a 'ray of sunshine' all around the dish, made in my vintage pink Pyrex that used to belong to my mother from the sixties. I also have the matching bowl with it. Taking photos of it in the natural light with a 'ray of sunshine' also helps to feature this easy and yummy quick homemade dessert! The recipe is so very simple and easy, you just have to remember the basic equivalent measurement of everything ...except the butter.

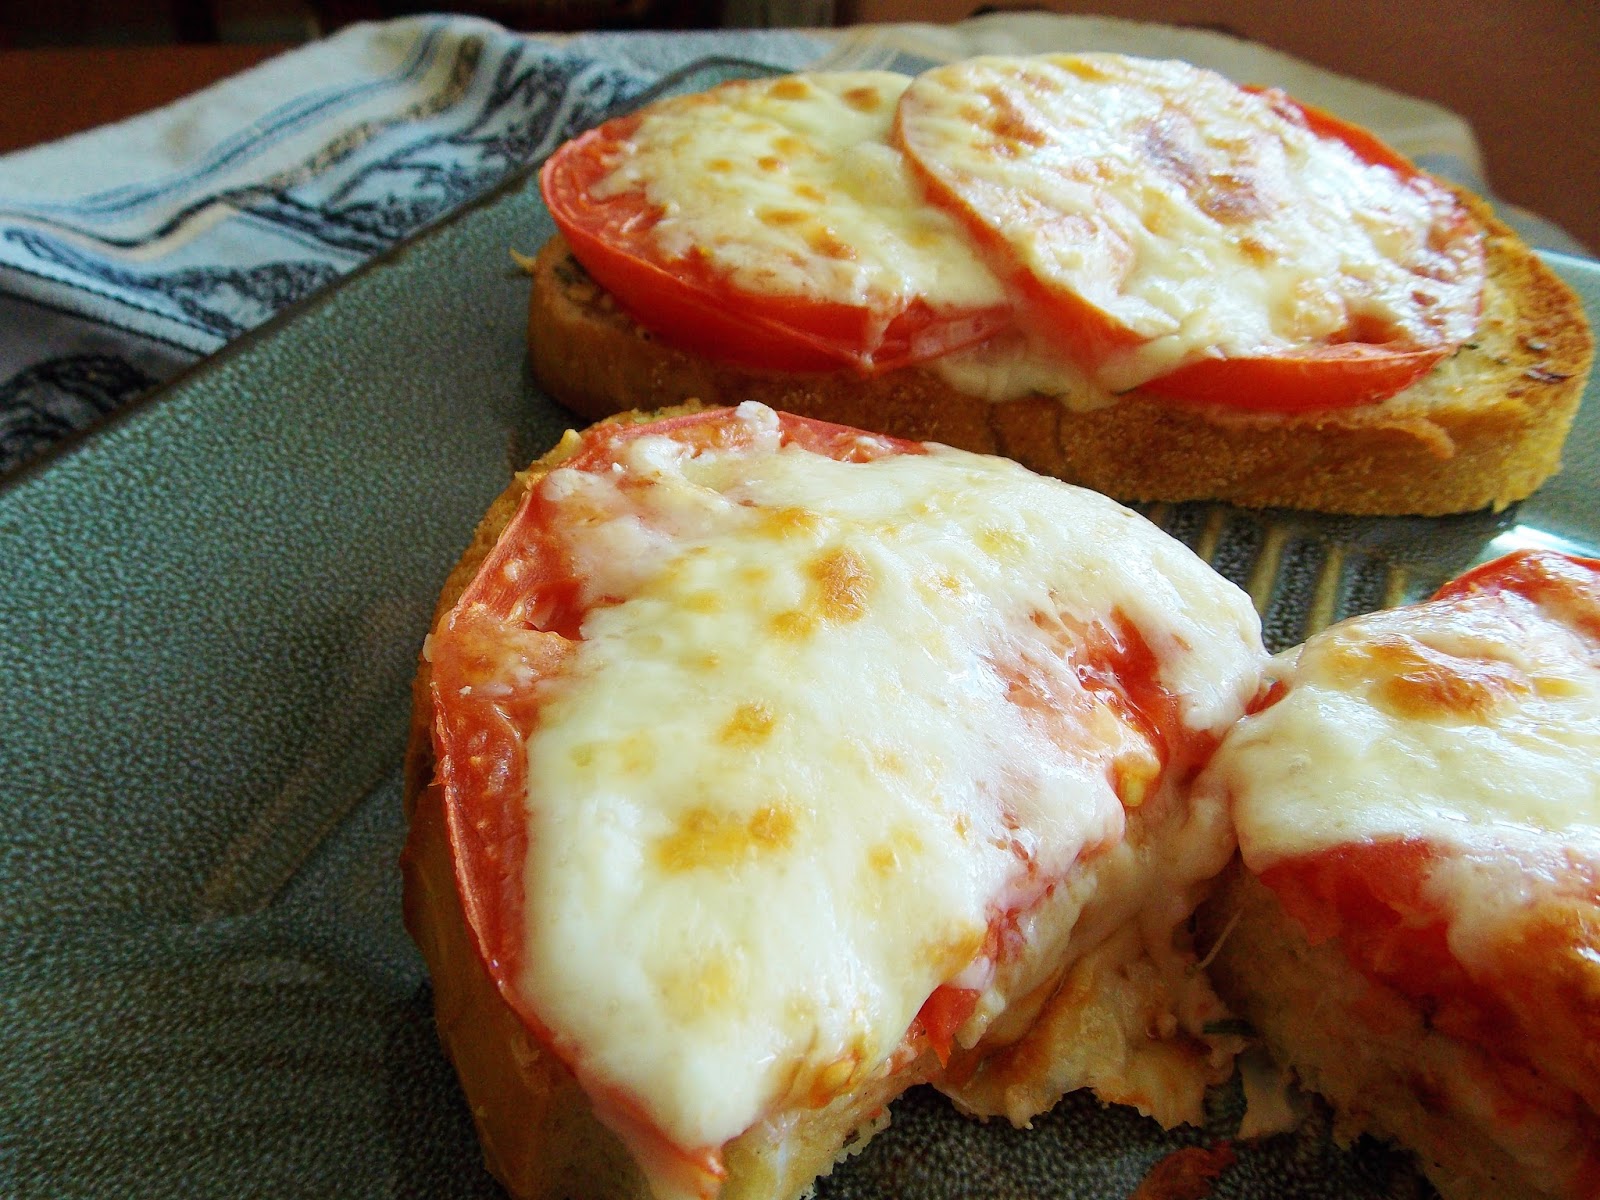
I served this right out of the oven and the aroma with the apple, peach, cinnamon and brown sugar was totally incredible and intoxicating. Actually you have to wait at least 15 minutes for the fruit crisp to settle and the juices thicken as it cools, otherwise it gets so juicy...which is not a bad thing as long as the topping stays crunchy!

Topping it with your favorite ice cream really is scrumptious and heavenly!

After a few minutes, the ice cream starts to melt over the warm crisp and you'll also need a spoon with your for...better yet, just scoop up all the yummy goodness with your spoon!

Fresh Peach and Apple Crisp
recipe by; Elisabeth

1/2 cup quick cooking rolled oats
1/2 cup packed brown sugar
1/2 cup all-purpose flour
1/2 tsp. ground cinnamon
dash of salt
1/3 cup butter
zest and juice of 1 lemon
4 medium peaches peeled and sliced
3 medium apples peeled and sliced thin


In mixing bowl, combine oats, flour, cinnamon, salt, and brown sugar (leave 1 Tbsp. sugar for mixing into the fruit.) Cut the butter into small pieces and crumble them into the flour and oats mixture. Set aside

In a large bowl, add the peeled, sliced peaches, the peeled slice apples, the grated lemon zest, the juice of the 1 lemon, and the 1 Tbsp. brown sugar. Place fruit in a 10x6x2 inch baking dish, Sprinkle the flour mixture over the fruit, Bake in a 375 degree F. oven for about 45 minutes or until fruit liquid starts to bubble.
Serve warm over ice cream.

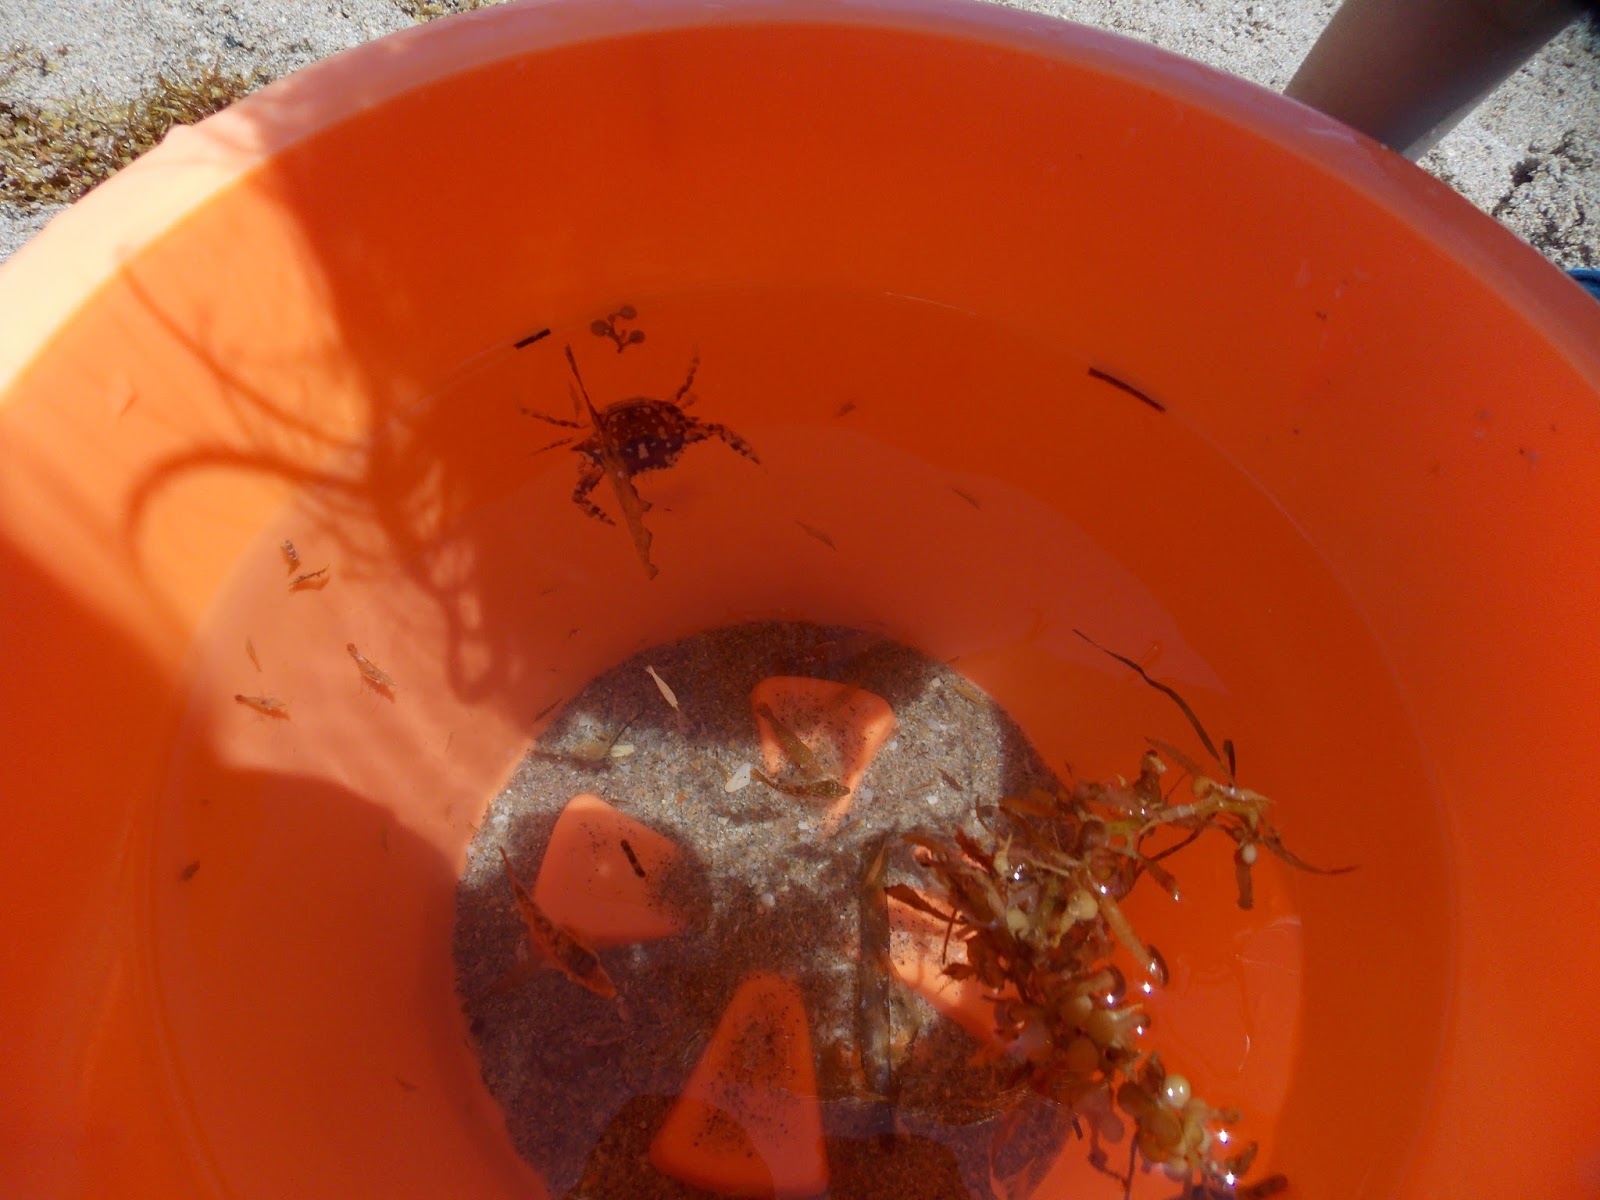
Here are some photos to share with you from this past weekend...

Linking to:Thursday Favorite Things @ Katherine's Corner

sail boat on the beach...
view from our private beach...
view of the moon in the background...
at sunset, across the street on the Intracoastal water...
just down the street from me...
well manicured public lawn, and well kept trees...Palm Beach
Gabby taking photos...as well!


Silent Sunday


Sunset in Palm Beach, Florida. (granddaughter Gabby, serious photographer; age 12)...actual divine colors on the Intracoastal Water; Saturday, 9-14-2013
Have a beautiful Sunday! xo

Nutella-Banana Bread

 
Glancing at this photo of my Nutella-Banana Bread makes you think...it's either the sloppiest presentation you've ever seen, or you might think that it is actually creative; well, I might add that it could be a 'mad artist...off their 'rocker'! Well, not that...either!
 
 Linking to: Thursday Favorite Things @Katherines Corner

                    Full Plate Thursday @Miz Helen's Country Cottage


Also, you will notice that this is the 4th inspired recipe from a magazine, or newspaper article of the local food section. I don't have to take the time to type out the recipe...you can actually just click on it. I changed the title of the Chocolate-Hazelnut Banana Bread, to Nutella-Banana  Bread...simply for the reason that I did omit the hazelnuts...I added 1 extra bananas, and another 1/2 cup of flour...other than that, it does deserve the name...NUTELLA-BANANA BREAD!
 

Click on the above link for the recipe. I used chocolate chips to melt down to drizzle on my bread...just got a little carried away, but let me assure you, that one bite of this Nutella-Banana Bread makes you feel like you're in 'Nutella Heaven'! My 7yr. old grandson loves it just spooning it on Ritz crackers...it really is so good for you with genuine hazelnuts added in with the skim milk and cocoa to make this incredible spread.
 

Toasted Parmesan Tomato Bread

Labor Day came...and went, yesterday; a huge 'downpour' of rain in the early afternoon here, in S. Florida in Palm Beach County. As for the Ft. Lauderdale and Miami area...no rain, whatsoever!
I had lunch with my family, and came back home early hoping to spend the day relaxing on the beach...no such thing happened. Its as if the rain came out of nowhere...once the downpour starts, there's no 'ending' or 'letup', so you're either stuck in a store, or in your car because the minute you step outside you are drenched from head to toe...even with an umbrella, which by the way will turn 'inside-out' from the strong wind!

I enjoyed my evening with the super comforting, crunchy, fresh tomato toast with the Parmesan topping and even better, a slice of provolone cheese to melt and give me the ooey-gooey cheese effect. You start out making this toast as a garlic toast but totally 'kicking it up a notch' as chef Emeril Lagasse would say.

With all the great cook books, magazines, every now-and-then I like to try some recipes from my local newspaper in the weekly recipe section of the Palm Beach Post!

TOASTED PARMESAN TOMATO BREAD
adapted from the Palm Beach Post Times

4 cloves of garlic minced
1 large sprig fresh rosemary, finely chopped
1/4 cup olive oil
1 teaspoon Kosher salt
ground black pepper
4 large thick slices sourdough bread
4 large tomatoes
3 ounces Parmesan Cheese


Preheat oven to 350 degrees F. In a small sturdy bowl, combine the garlic, oil, salt and black pepper to taste. Mix well, then use the back of the spoon to mash the garlic and rosemary together to form a paste.

This method can also be use in a mortar and pestle, or a min food processor. The rosemary will not mash well, but it is fine. Spread quarter of the mixture over each slice of bread.

Note: the original recipe calls for 4 slices of bread and 4 tomatoes, I used 2 slices of bread and 2 tomatoes to cut 2 middle slices from each tomato for the bread.
Also, the original recipe calls for broiling the slices of the bread...I baked it first for about 5 to 10 mines and then added to cheese, and the provolone cheese slices which recipe does not call for.
Also, for the garlic...as you can see on the photo, I purchased the peeled fresh garlic in this plastic jar, and chopped it in the mini food processor. As for the fresh rosemary, it is easier to chop with knife and add to the garlic, and fill the jar up with canola oil (not olive oil)

What I did, was get a small bowl, take a spoonful of the garlic rosemary mixture with the canola oil, and add extra virgin olive oil to the garlic mixture and add the salt and pepper into the bowl and spread some of that mixture on the bread. I topped both slices with the large slices of tomatoes and get it ready to put into the toaster oven. Better to save time and electricity if you only make to slices...use your toaster oven.

Be sure to reserve the tops and bottoms of your tomato slices for another use...don't discard them.

Shave some of the Parmesan cheese over the tomatoes with a carrot peeler, which makes it easier to peel.


Set the assembled bread on a baking sheet in the middle rack of your oven.

(follow this method if you are using 4 slices of bread; I used 2 slices of bread and put mine in a toaster oven...no baking sheet needed because you want the bottom to get toasted, as well.)

Bake for about 7 to 10 minutes, and add one or 2 slices of provolone chees on each slice of bread. You can also use mozzarella instead of the provolone. You can broil bread slices now, and get the cheese nice and brownish, which takes about 3 minutes.

You are ready to serve, and enjoy!


I added an extra slice of cheese to broil to make it more bubbly, and ooey-gooey cheesy sensation! A perfect little meal by itself, or a hefty 'snack'!


The grey scene on the ocean from my beach photographed from my balcony, on the second floor
another scene later, from the other side on the intracoastal waters...pinkish sky at dusk means windy day the next day!
 
Thanks for all your sweet comments and support of friendship! Those of you that celebrated Labor Day...hope you had a nice and sunny day! xo
 

Asparagus-Potato Frittata

Although I've been feeling so 'out of it' and not really in the mood for driving, grocery shopping, and...especially cooking, due to not feeling my best with the bandage on my forehead to cover and protect the 'skin cancer surgery'...and taking strong antibiotics is not my favorite thing at all. I finally had the stitches removed and now I'm on my way to healing with a slight scar about 1 1/2 inches which will fade in time. I scheduled for my next surgery appointment  a month away!

When you know you have a dozen eggs in your fridge...actually, you only need 8, have onions, and some kind of fresh veggies, you could whip up a frittata in no time, at all!

I really do not need a recipe for this simple frittata, but I got inspired by Martha Stewart's Whole Living magazine...sad to say, is no longer in circulation. Again...I swapped the vegetables and omitted the jalapeno peppers which I did not have, but no worries...if you want it spicy, you can use chili pepper flakes for a spicier flavor. Recipe also calls for fresh corn kernels (you can use frozen)...I used diced potatoes, instead...otherwise, you can be creative and add veggies of your choice! Click on the link, for the recipe!
SPICY ZUCCHINI FRITTATA

The next day, I still had a lot of leftovers and had a yummy cold frittata sandwich for lunch. Some people do not like cold eggs...but as for me; I love cold hard boiled eggs, or a frittata (fried-scrambled eggs) especially on simple, fresh whole wheat bread.
My poor little kitty, Mush has found a little 'me space' which I usually have it stacked with cook books and some novels, and just stared out at me feeling left out, while I am finishing my post.
Pets can pick up on your 'moods' and feelings. Poor baby has felt neglected all week long...or is she just watching the red ribbons protruding from the book?...most likely. She is such a comfort, so sweet and delicate little thing, and oh, so 'finicky'...just like most female cats are. (she still misses Prince, can't believe its been already over one year that he had to be put down...sigh!)

I really appreciate all your caring and friendship; if I neglected to comment on your blog...I will try to catch up visiting and commenting, and as for my posts; I need to step that up, as well and post at least twice a week. Take care, and Hugs to all!

Creole Shrimp and Rice...my way!

Living in sunny South Florida gives us the advantage of obtaining the freshest seafood every day...available, 365 days a year. You can even buy it from fishermen coming back from the fishing boats...not cheap, but affordable and oh, so amazing and fresh!
I love shrimp, especially the pink Key West shrimp. I saw the CREOLE SHRIMP AND RICE  recipe in June, 2013 issue of Cooking Light magazine and I was impressed by it, but adding the 1 cup of milk to make the Creole Sauce was not my 'cup of tea', so I adapted the recipe changing it to the 'ruby red' spicy sauce, and serving it with Jasmine rice!
I discovered this beautiful bag of little treasures...fresh San Marzano mini tomatoes...grown in Texas, so sweet, crunchy and yummy; you can eat it just like 'candy' but I used it in my sauce, along with the Red Gold tomatoes... that I still had left over from my promotion pack. No need for extra spices, although I used the same recipe as the one from Cooking Light, and added 1 can of the Chili Ready diced tomato.


We all have a way of dealing with 'stress' a different way. Most people eat for comfort...or shop for comfort...be a 'hoarder' of accumulated unnecessary things; as for me, I also shop, but I do the 'thrift shopping' and only for items that I really could use in my kitchen or around the house.

As for eating...I substitute it for 'food shopping'! My cupboards are slightly overflowing with just about every staple item needed for cooking or baking; my fridge is full with fruits, vegetables, dairy products, breads and rolls in the freezer. Food shopping brings me comfort, but it can be costly if all the perishable items are not used up in time.

I'm not the type of person to complain about my physical health...aches, and pains, or even keeping a doctor's appointment; rather cancelling and re-scheduling, instead. To get to the point, I've been neglecting my every 3 months dermatology check ups...after over a year, I finally visited the dermatologist office to check for dangerous moles or spots sprouting up. Since the last couple months I had at least half a dozen suspicious moles and spots...some cancerous, removed from my back, chest, and arm, and now I am dealing with two more that are a little more complex.

So, if you did not hear from me for over a week...posting, commenting, its not because I'm on vacation its just LIFE HAPPENS...every day is a 'challenge' of some sorts.

I had a dangerous skin cancer (Basal Carcinoma) surgically removed from the middle of my forehead this morning...three consecutive sessions...digging, scraping, carving; now its stitched up, and I'm not feeling my best, and next month I will have to have another one surgically removed.

Here's some helpful information about skin cancer...from the SKIN CANCER FOUNDATION

When you don't hear from me, and I'm not blogging...or on Facebook...something's up.
I also forgot to mention that, Pinterest has been a great comfort for me for the last week, just pinning...pinning...and marveling at all the amazing and beautiful things. Also, I've been 'downsizing' and getting rid of things. I hauled more clothes, books...mostly cookbooks, and small pieces of furniture, to donate...you would think that I'm moving!

Have a wonderful week, ahead! xo

Linking to:Thursday Favorite Things @ Katherines Corner
                  Full Plate Thursday @ Miz Helen's Country Cottage


Peach Galette

When you attempt to make a 'free form' galette, it is so much easier to make a galette, and tastier than the store bought frozen pie crust...I really, highly recommend home made. Just follow the recipe for a double crust pie crust for your galette...here, @ The Clever Carrot...such an adorable name for a food blog; but I will not be commenting  (learned my lesson from previous times, when I promoted a blog)
NO response back!

As for the filling, I got the inspiration from here...@ Kitchen Sisters; but do not follow the instructions for 8 individual galettes, although the dough recipe is beautiful, and correct, but there is no way possible to make more than two galettes (they possibly meant 8 servings) The double crust recipe yields 1 large galette, or two smaller ones.

A perfect summer dessert recipe, and for the fall season as well, as long as you can get fresh peaches. We have an abundance of beautiful peaches, right from Georgia; the state that is famous for the best...ever peaches, just like our Florida is famous for the best...ever, oranges.

As you can see, when I make some kind of dessert, it doesn't last long in my little beach apartment, and so far this week, my children, and grandchildren have been here almost every day enjoying the beach. School is starting soon, and they got the best week to enjoy the last week of sunshine, which we didn't have a lot of in the last month! As soon as the galette got cool enough to cut slices, Gabby just grabbed a fork and ate half of the yummy galette, all by herself. It was just too 'awesome' to let this moment pass, so I grabbed my camera...she just cautioned me not to take a picture of her eating, right there, while it was still on top of the stove cooling!


I used 2 ripe, but firm peaches to fill my galettes and let me tell you...the crust was so full, I barely was able to fold the dough over...but the dough is so perfect each and every time, and I mix it in my large food processor, just using 'pulse' and not mixing rapidly. The dough will actually form into a ball, and then you're ready to wrap it in plastic and press down to shape it into a disk...don't forget to refrigerate for at least one hour.


This is what a chilled disk of dough looks like, all nicely wrapped in plastic wrap, and ready to roll out.


Just lift the plastic wrap off and place it over the top of the dough to roll out, right on the parchment lined baking pan. (make sure the dough is still cold, right after you took it out of the fridge)...this will ensure that you will get a great flaky crust.


A beautiful couple hours at our private beach!
Lora, checking her I-Phone...Luca collecting 'live' fishies and baby crabs and placing them in the bucket!


Can you spot the tiny baby crab in the middle?


A gorgeous Sunday on the beach...school will be starting, and I'm sure all kids got to take advantage of the last, or almost last Sunday, before school, doing some fun stuff!


Take care, and have a wonderful week ahead! Hugs, to all


Linking to: Full Plate Thursday @ Miz Helen's Country Cottage
                   Thursday Favorite Things @Katherines Corner


Jelly Roll...Piskóta Tekercs


Jelly Roll, or Piskóta Tekercs ...pronounced as (Pishkota Tekerch) is, and has been truly a childhood favorite of mine and for a lot of years...also, my children are quite familiar with this awesome and light delicate cake that my favorite Hungarian aunt Mariska used to make on many occasions. My son insists that it is best filled with the smooth-as-silk chocolate filling, not just any old chocolate filling but the one that is like a mousse type and tastes like milk chocolate.
I did not take too good of a photo of it...it was an extremely stormy day over this weekend, I got soaked in the rain coming out of the supermarket yesterday afternoon...of course leaving my umbrella at the house. As you know our South Florida weather is very 'tricky'. It was somewhat a sunny/partly cloudy day earlier, and all of a sudden you get this 'flash storm' hit you out of 'nowhere' that lasts about an hour and it's all over with, and the weather clears up again~

I actually have this recipe in my head from years ago...very simple method...4 eggs, 1 cup of flour, 1 cup of sugar, but I do have the classic recipe in my 1986 Good Housekeeping book. I am so thrilled that I ordered the new version of the Good Housekeeping cook book from Amazon, it finally arrived.
The best way to order books is to choose the 'used' versions, especially when it is gently used...and 'like new'. This book is a 'dream'...seriously! The new price is $35. and used...$5.19 plus $3.99 shipping charge. The outer jacket cover is still on the book and it is amazingly new...just can't see any flaws at all.

Jelly Roll
adapted from the Good Housekeeping cook book
1986 edition

3/4 cup cake flour (I used 1 cup all-purpose flour, sifted)
1 teaspoon baking powder
1/2 teaspoon salt
4 eggs separated (at room temperature)
3/4 cup sugar (I used 1 cup)
Confectioners' (icing) sugar
1- 10 to 12 ounce jar jelly, or jam of your choice
(I used seedless blackberry jam)

Grease a 15 1/2 inch x 10 1/2 inch (I used a smaller size, size doesn't have to be exact)
Line pan with waxed paper, and set aside.
In a small bowl, mix cake flour (or all-purp. flour) baking powder and salt.  With electric mixer, beat egg whites until soft peaks form
(use the finger test if it adheres nicely to the finger, it's done) use 1/4 cup of sugar to add gradually while mixing. (I used 1/2 cup)


Preheat oven to 375 degrees F. In a large bowl,
with same beaters and with mixer at high speed,  egg yolks, vanilla extract and 1/2 cup sugar until very thick and lemon-colored (pale)


With rubber spatula, gently fold flour mixture and beaten egg whites into egg-yolk mixture.


Spread batter evenly in pan; bake 15 minutes or until cake is golden and top springs back when lightly touched with finger.


Meanwhile, sprinkle clean cloth towel with confectioners' sugar. When cake is done, immediately invert cake onto towel.
Carefully peel waxed paper from the cake. If you like, cut off crisp edges.


Starting at a narrow end, roll cake with towel, jelly-roll fashion. Cool cake completely, seam side down, on a wire rack, about 30 minutes.


To serve, unroll cooled cake. Spread cake evenly with jelly. Starting from same narrow end, roll cake without towel. Sprinkle roll with confectioners' sugar; place seam side down, on a platter.


I would like to announce the winner for the Red Gold Tomato Giveaway, which was determined by RANDOM.ORG ...number generator.

True Random Number Generator 2

Congratulations, Patty....and thanks to everyone who participated!


Cleveland Winter 2017

Hello my friends, I hope you all had a great holiday. I just got back from Ohio and I thought it would be nice to put together a post to s...